My first custom Mechanical Keyboard

About a year ago during one of my YouTube binges I got mesmerized by the looks and thocks of custom built keyboards and before I knew it, I got sucked deep down the mechanical keyboard rabbithole. After consuming an embarassing amount of unboxings, reviews and posts on sites such as r/MechanicalKeyboards, I finally decided to build my very own, personalized keyboard (or keeb, as the cool kids say). I tried to legitimate the hefty price tag attached to such an endeavour by arguing that a keyboard is THE human-machine interface, the one thing that lets me interact with my computer, and hence is worth the expense, but deep-down I knew that these were just excuses for yet another enthusiast hobby to pour my money into.
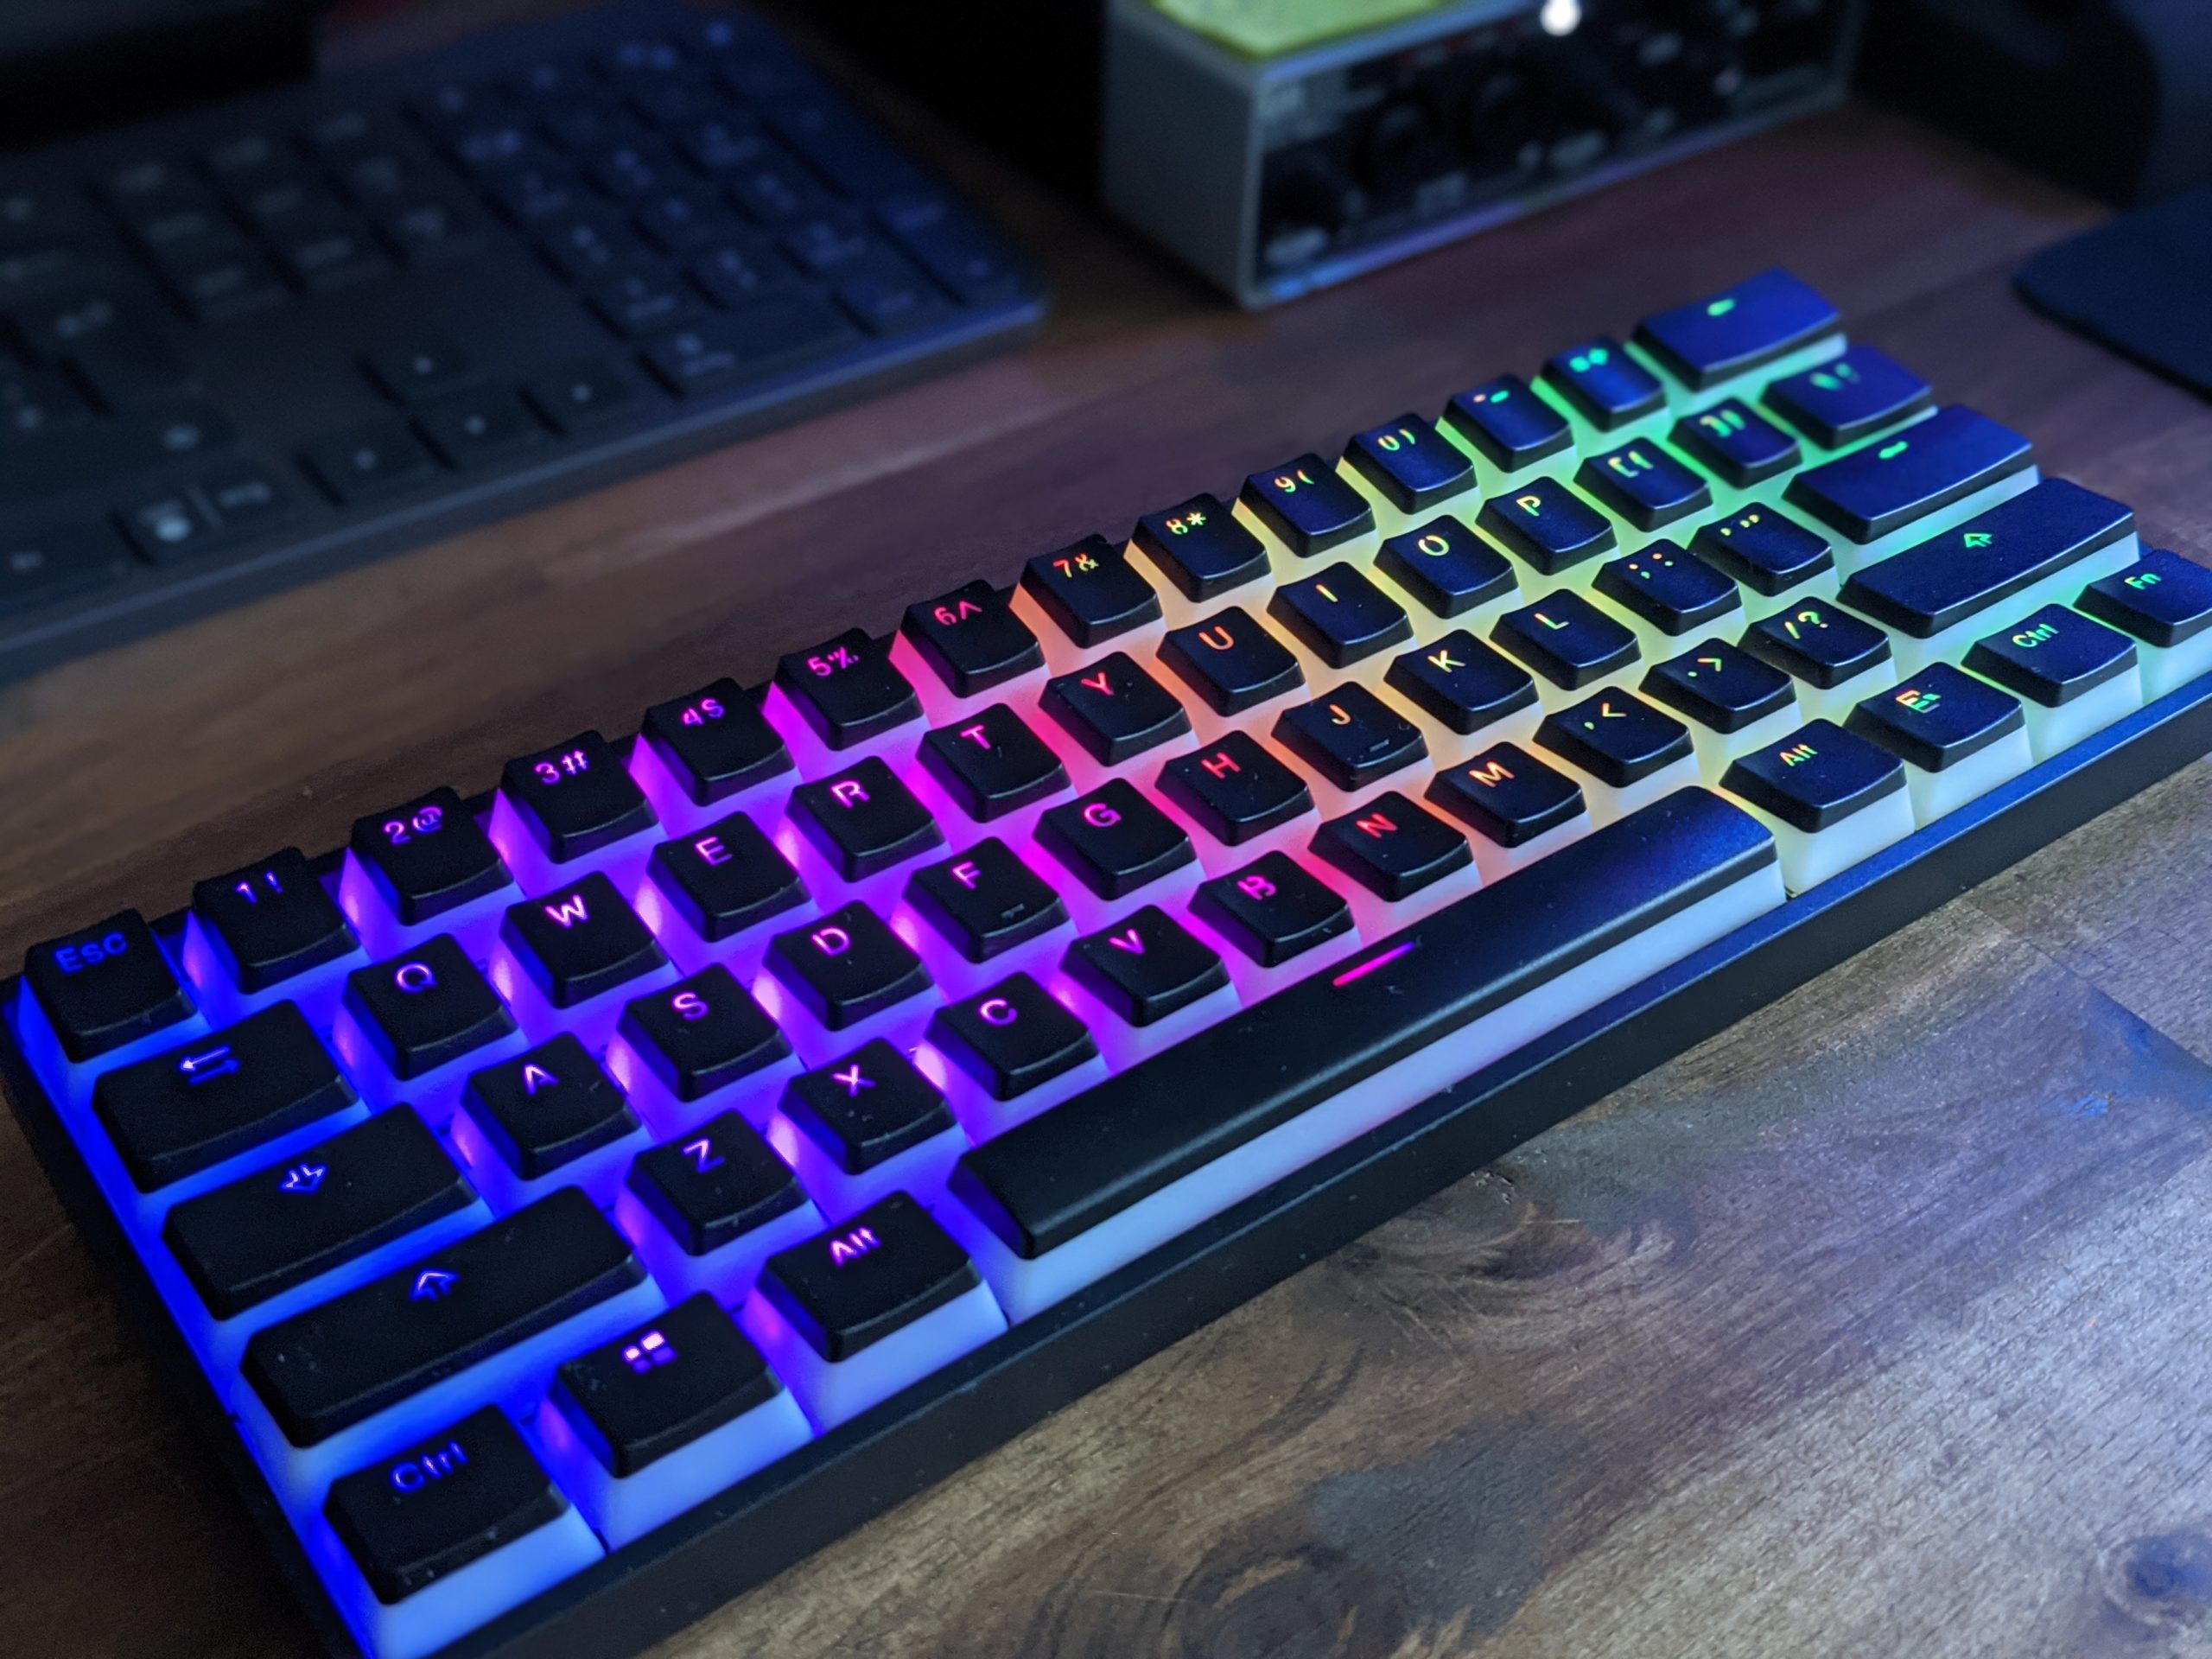
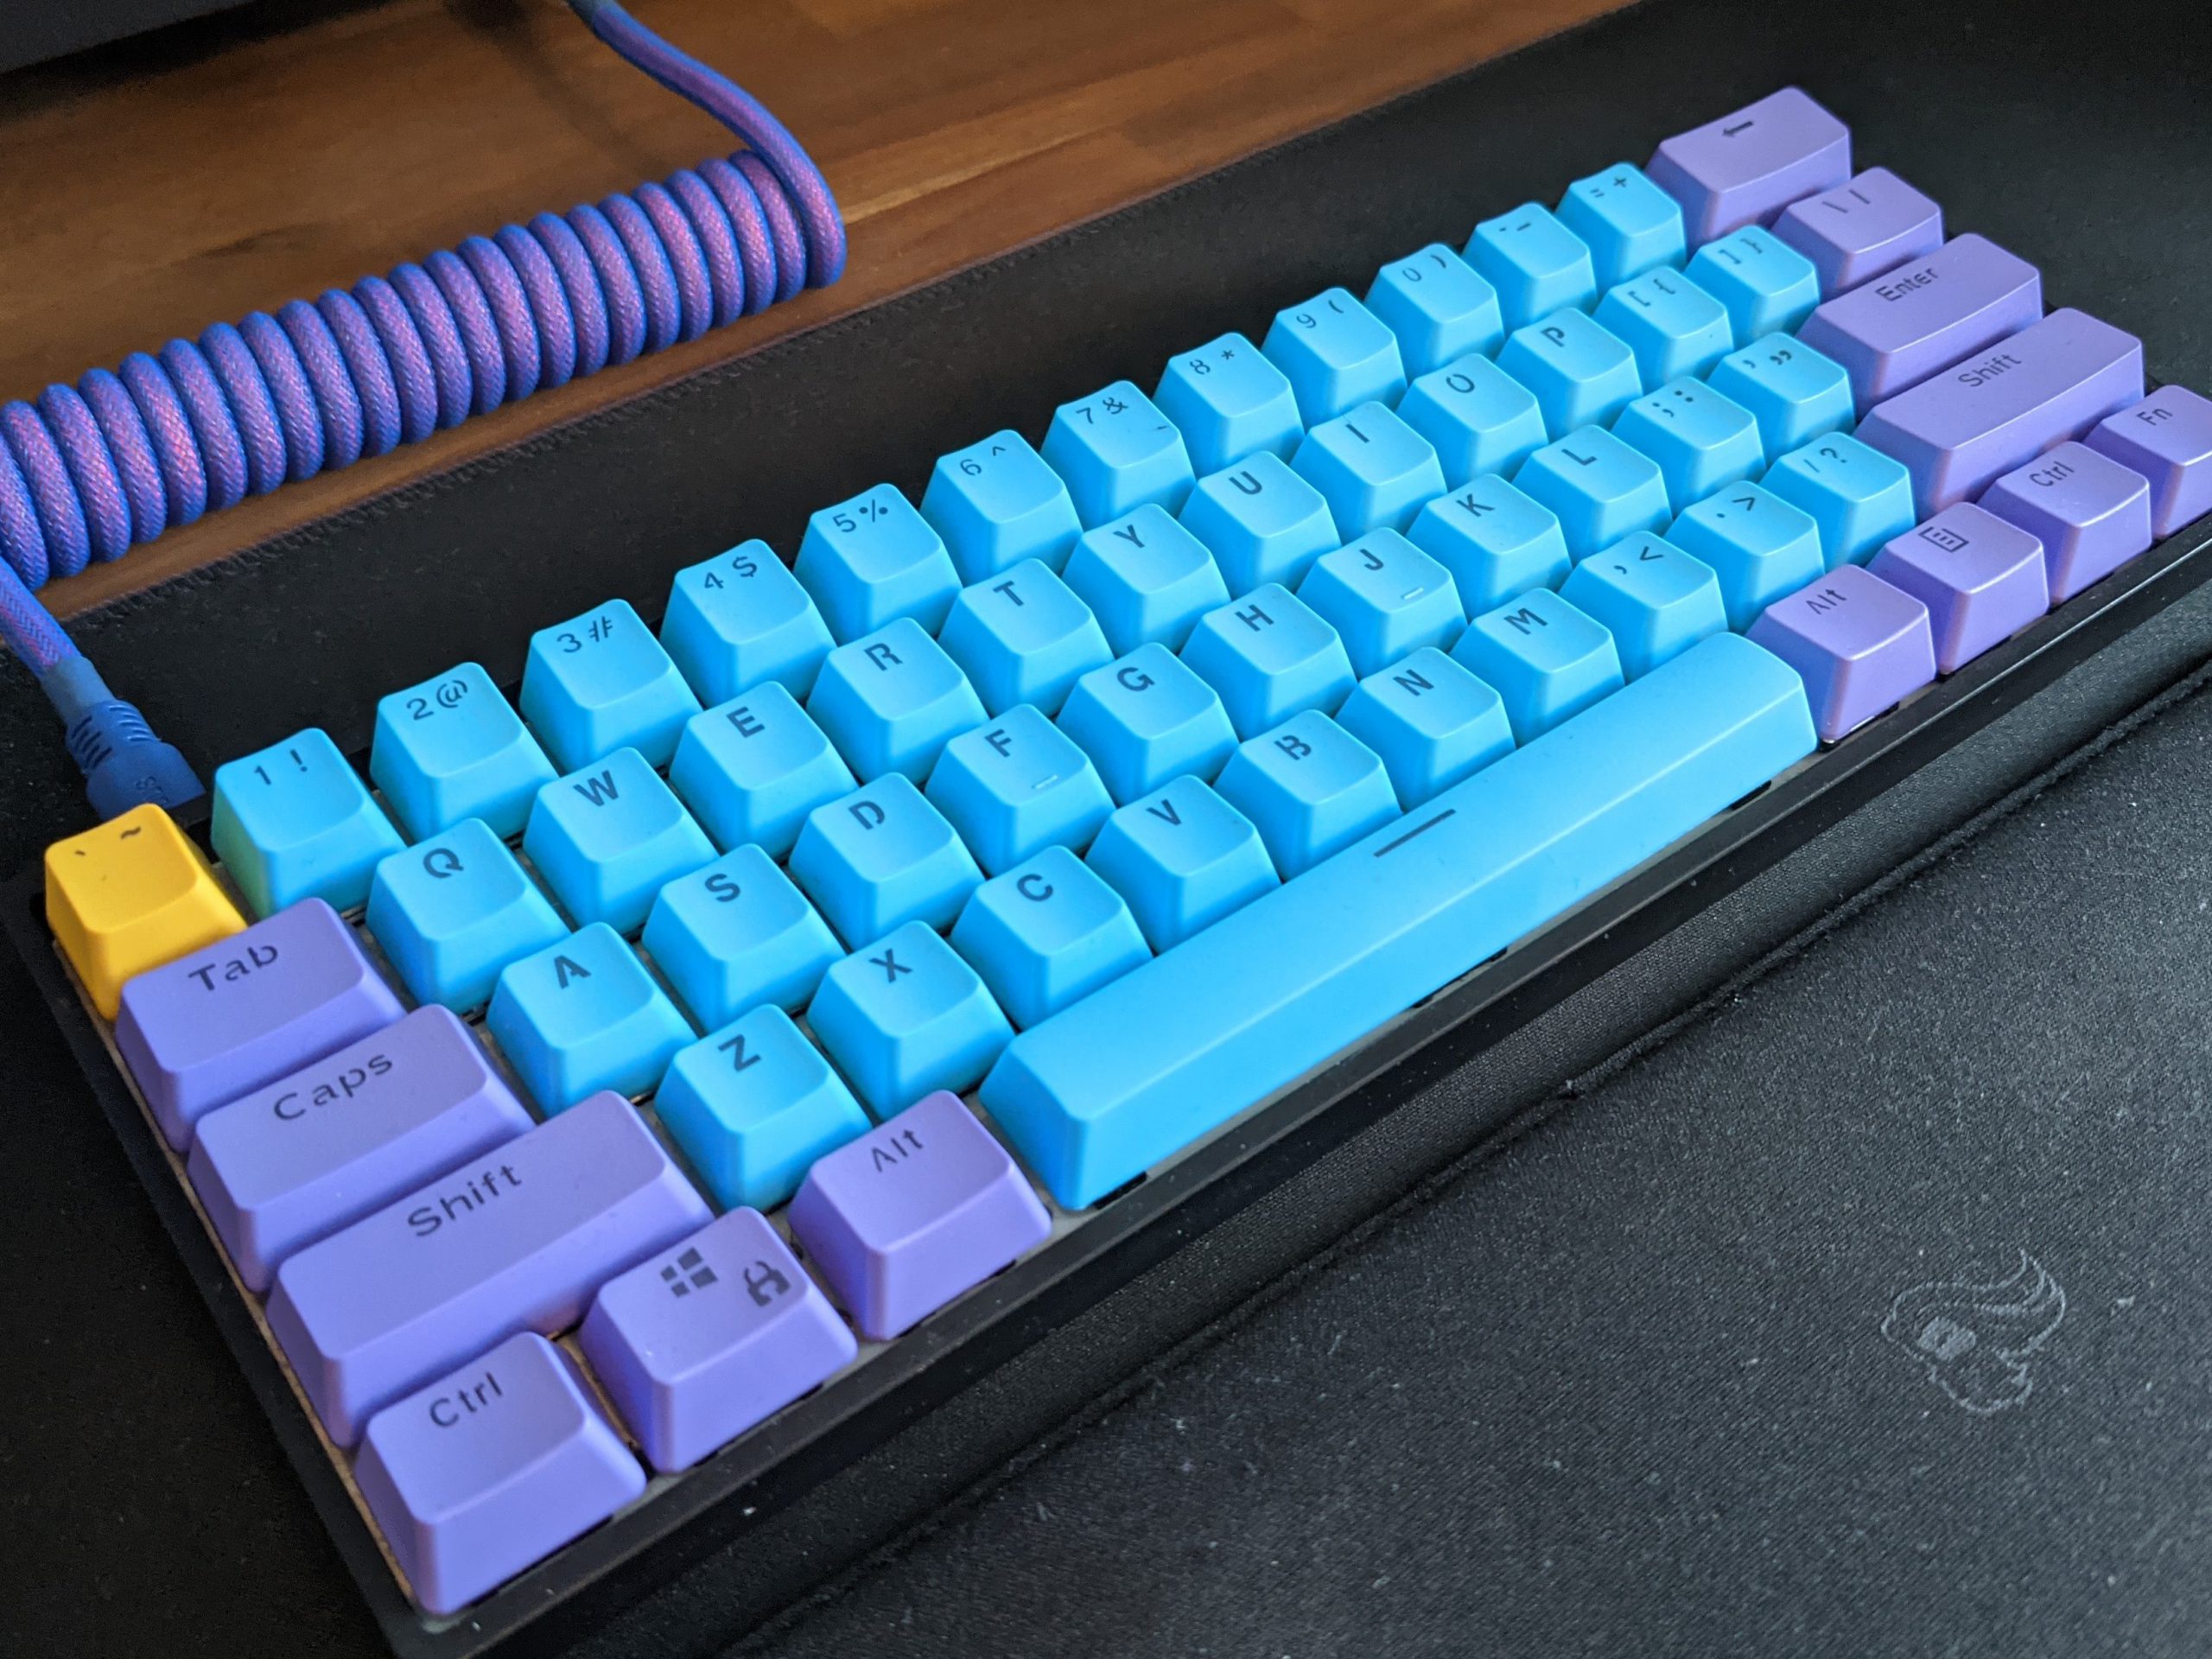
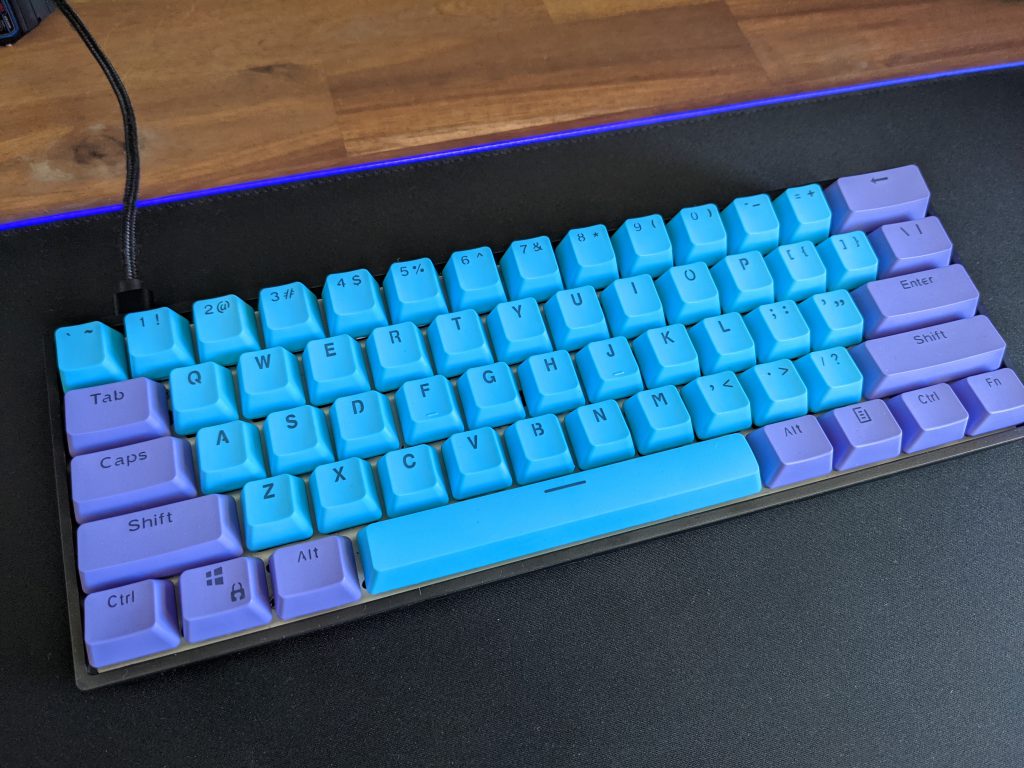
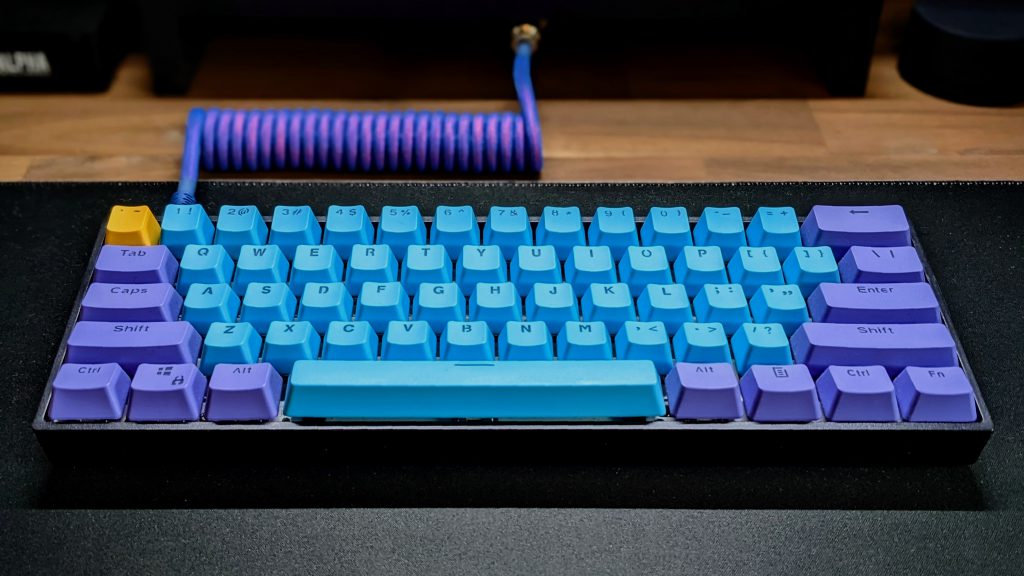
Anyways, this post will go through the steps I took to get my keyboard from looking like this (before) to this (after):
If you’re planning on building your own mechanical keyboard, this is what you will need:
- A keyboard (obviously)
- Keycaps
- A lubing station as well as lube and dielectric grease
- Keycap and switch removers, a switch opener, a stem holder and a brush
- Some padding foam and medical tape
1. The Keyboard

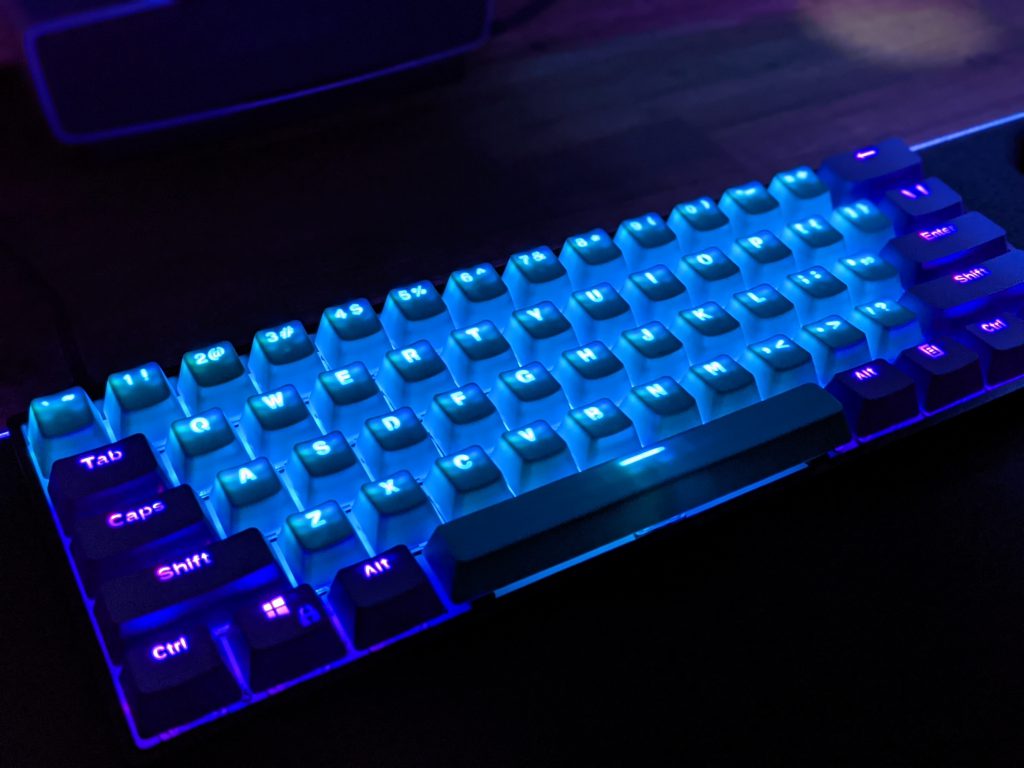
Acting on my best friend’s recommendation, I purchased the high value-to-price Epomaker SK61S off Amazon. It comes with hot-swappable, linear red Gateron switches as well as Bluetooth and RGB lighting. I got it together with pudding keycaps to make full use of its lighting effects in the dark.
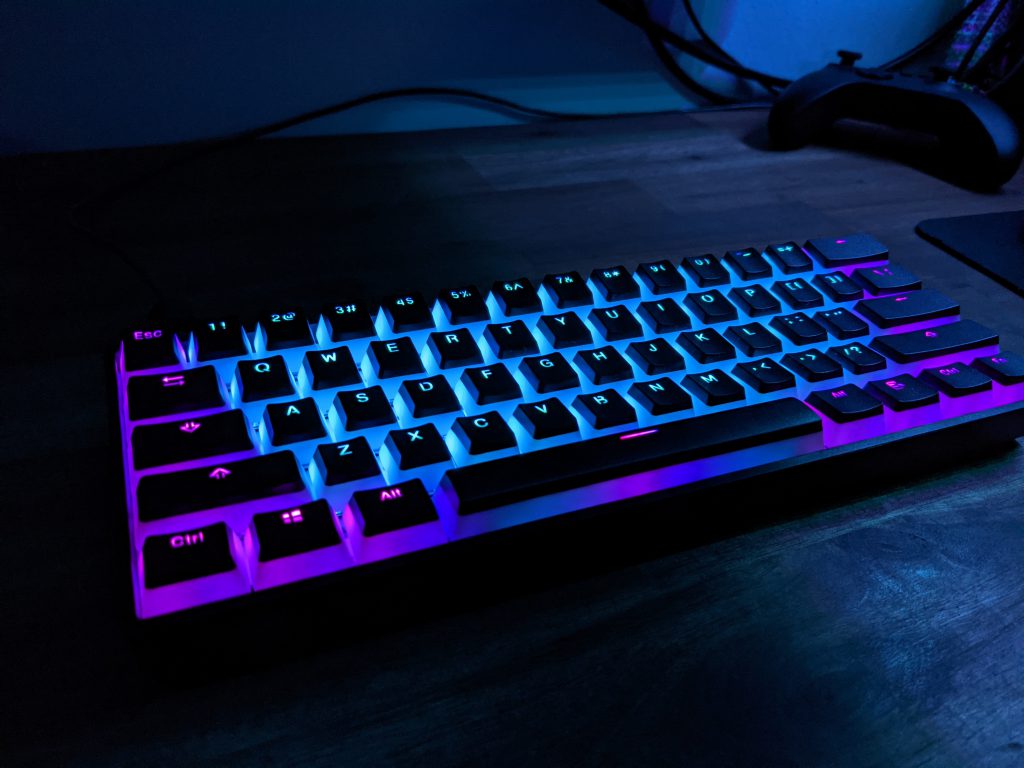
I really liked the look but the keys sounded very clicky and hollow which is why I used it only during gaming sessions and then quickly reverted back to my quiet Logitech MX Keys for other tasks. Switching keyboards all the time got exhausting after a while and I wanted to fully commit to the mechanical keyboard lifestyle (if there is something like that).
So, I decided to get my hands dirty and proceeded as follows.
2. Disassembly
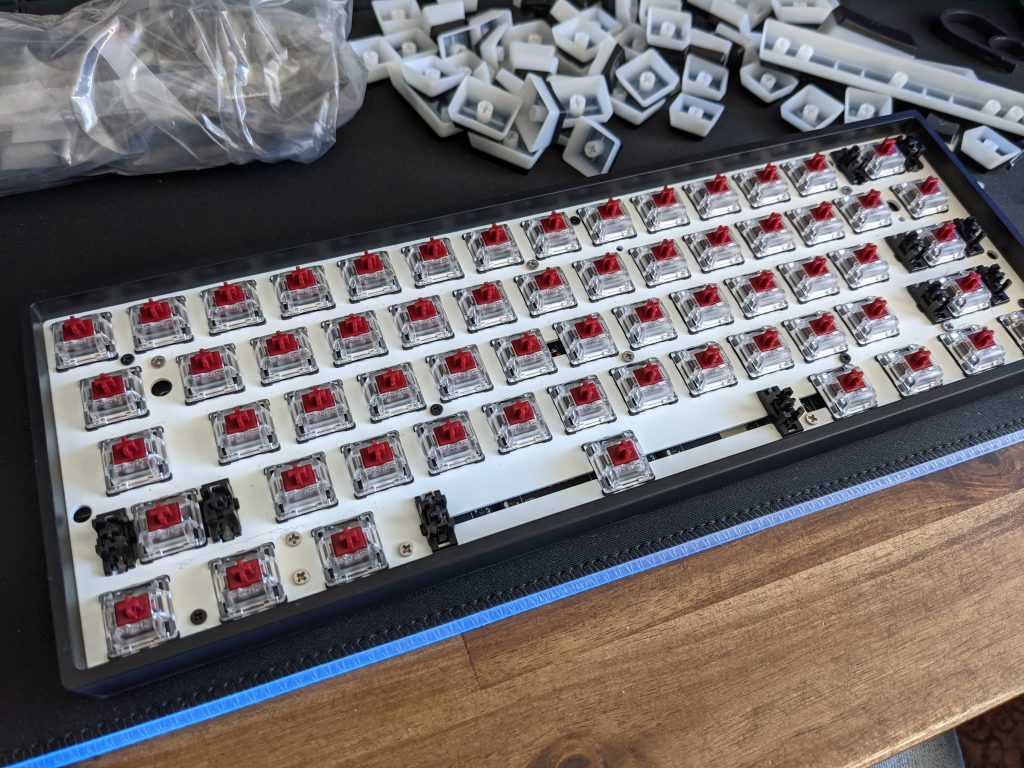
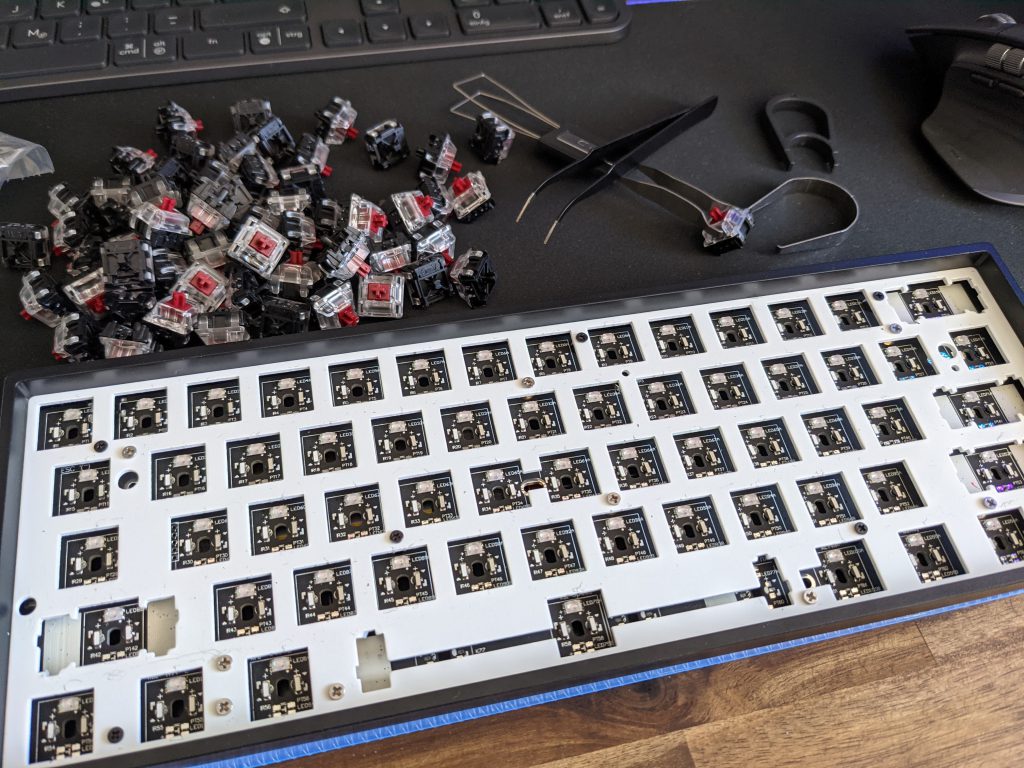
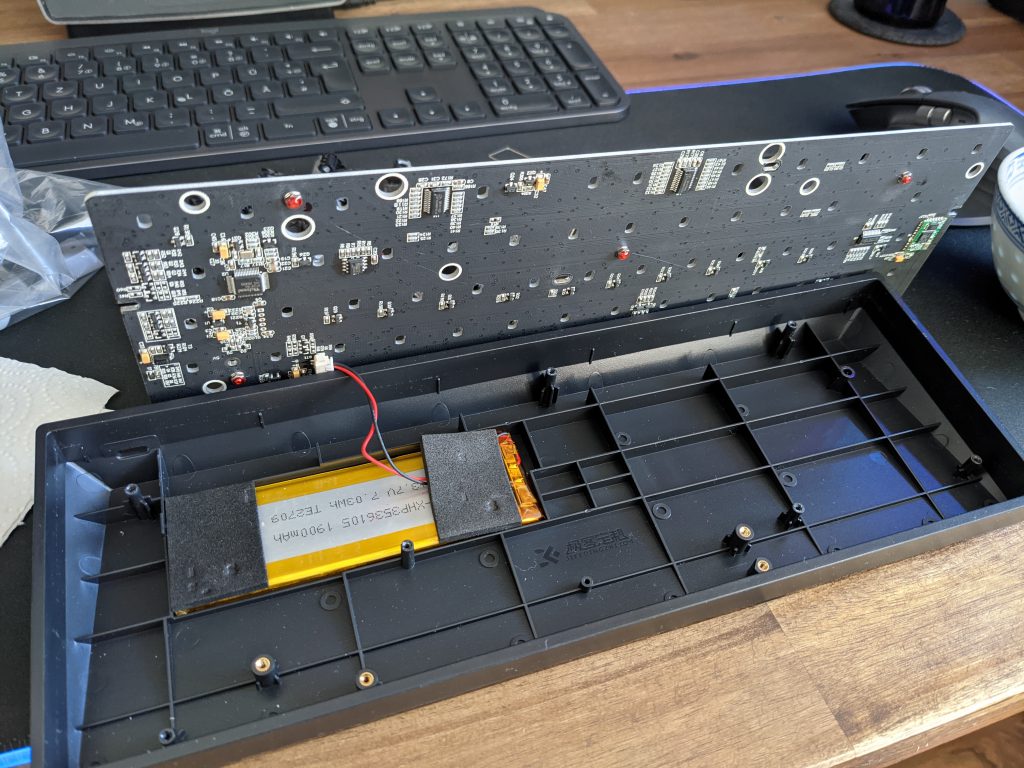
I first removed the keycaps (a keycap puller is recommended) and the switches (a switch puller was included with the keyboard). Then, I unscrewed the plate and the circuit board (PCB) and carefully padded the base with some padding foam to dampen the otherwise very hollow case. After that was done, I placed the PCB and the plate back onto the foam and screwed them back on tightly. Depending on the thickness (hehe) of the foam, you might have to excert some force to get everything back together but the struggle is really worth it! With this small modification alone, the keyboard already felt weightier and less hollow. As it is always the case with disassembling and reassembling things, one tiny screw was magically left over at the end.
3. Lubing & Greasing
After the case mod was done, I turned my attention to the real work – lubing the switches and greasing the stabilizers (stabs).
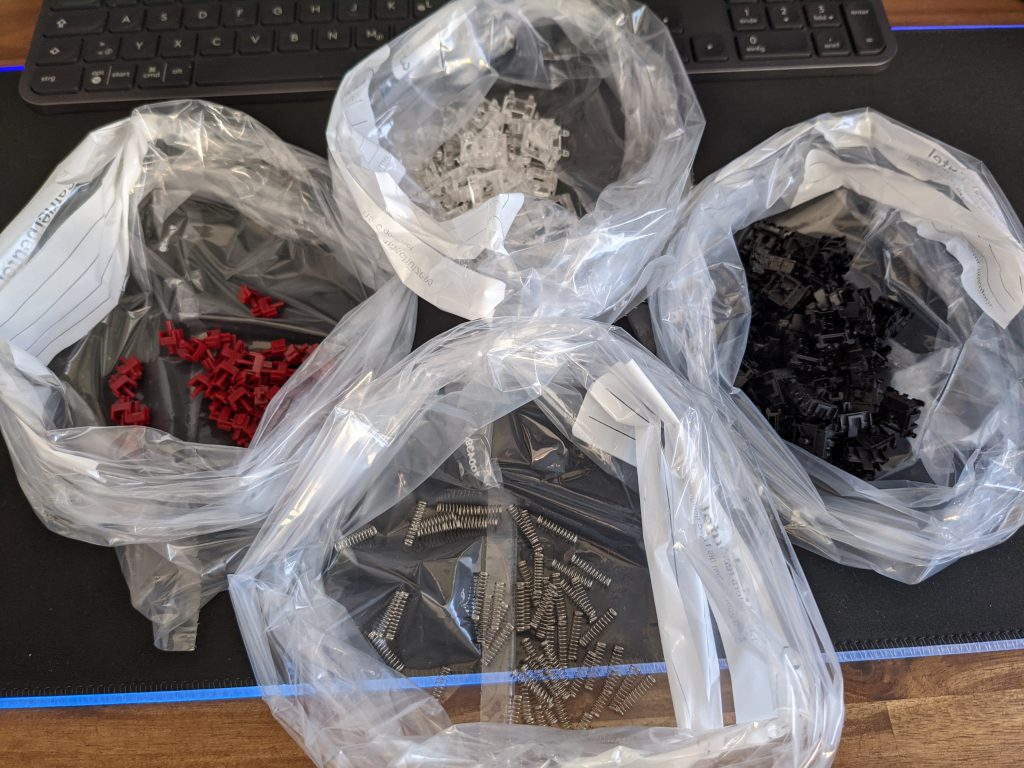
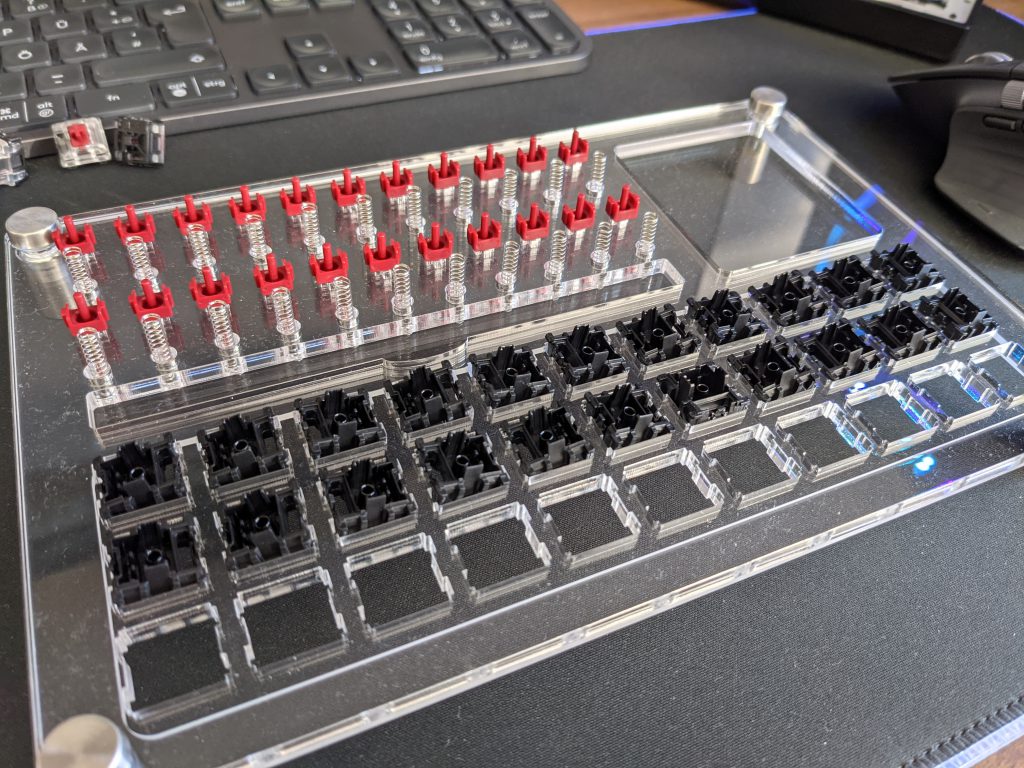
I used the switch opener to carefully disassemble each switch into its separate parts – the stem, spring, upper and base housing. Each of these components (with the exception of the upper housing) needed to be lubed, leaving me with 3 * 61 = 183 tiny components in total to lube by hand. Since this process takes some time, I spread the work over several days, lubing around 10 to 15 switches per day. The lubing station came in very handy to store the lubed components for later assembly and included a stem holder. I got some standard brushes and lube off Amazon and carefully applied the lube to the sliders and center hole of the base housing, as well as the sliders, sides and center of the stems (this is why we need a stem holder). Make sure not to use too much lube or else your switches might get too mushy! The lube should be barely visible on the brushtip. For the springs, I placed the current batch within a ziplock bag, added a few drops of lube and then shook the bag a few times to coat each spring. For the stabs, I stuck some medical tape to the plate and put on some grease to help with the dampening. As before, I lubed the inside and stem of the stabs. For the wires, I applied a lot, and by that I mean A LOT, of dialectric grease onto the outer edges before re-assembling everything back together.
4. Putting it all back together
With all of the above being done, I finally plugged the switches and stabs back into the plate. I recommend starting with the stabs since fiddling them back into their original spots requires some free space. I didn’t quite like the look of the pudding keycaps by day and so I got another set of affordable keycaps to match my favorite color scheme.
5. Finishing Touches & Sound Check
To top off my creation, I initially planned to get an artisan keycap for the ESC key, e.g. the Gengar keycap from bobkeycaps or the Skeletor keycap from FixedPoint Keycaps. But since these are generally hard to get (only available in limited group buys) and, together with VAT and shipping, come around the same cost as the keyboard itself, I settled with a less expensive solution and got yet another set of keycaps. Finally, I got a wristrest (never want to go back to hands-hovering-in-the-air-and-wrist-cramp times) and a coiled aviator cable from Glorious to complete the look.
Before
After
I hope you’ll enjoy the sound improvement just as much as I do (although my girlfriend still complains that my keys are way too loud *sigh*).
Anyways, thank you for reading 🙂
Cheers, Niklas
6. References
Without the following videos, I would have probably never tried to mod / lube my keyboard, so I want to give credit where credit is due: